API Notification flashes
This guide explains how to implement notification flashes for confirmations, errors or warnings.
Placing flashes into the layout
In your application layout, place an empty element with an [up-flashes] attribute. This indicates where future flash messages
should be inserted.
A popular place for flashes is outside your main element:
<nav>
  Navigation items ...
</nav>
<div up-flashes></div> <!-- mark-line -->
<main>
  Main page content ...
</main>
Flashes inside the main element
For styling reasons you may also wish to place the [up-flashes] container inside your main element:
<nav>
  Navigation items ...
</nav>
<main>
  <div up-flashes></div> <!-- mark-line -->

  Main page content ...
</main>
This style will usually cause multiple [up-flashes] containers
to be attached when you open an overlay. In this case any flash messages from overlay content will be rendered into
the overlay preferrably. Only when the overlay is closing, its
flashes will be rendered into the parent layer (instead of being discarded).
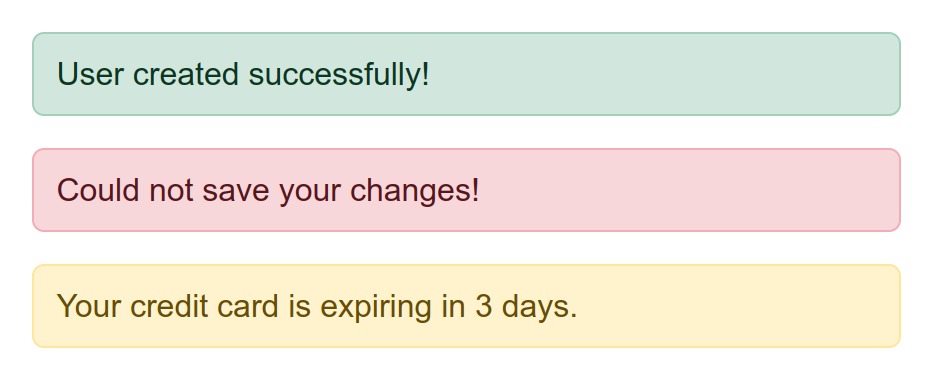
Rendering flash messages
To render a flash message, include an [up-flashes] element in your response.
The element's content should be the messages you want to render:
<div up-flashes>
  <strong>User was updated!</strong> <!-- mark-line -->
</div>

<main>
  Main response content ...
</main>
Flashes are targeted automatically
The flashes will always be updated, even if they aren't targeted directly.
In the example above, rendering main would also update the [up-flashes] element.
Flashes from closing overlays are shown on a parent layer
Sometimes a fragment update will cause an overlay to close, e.g. when a close condition is reached. In that case no new elements will be rendered into the closing overlay. Any confirmation flashes from the final overlay interaction would be lost.
The [up-flashes] element addresses this by picking up flashes from a closing overlay and rendering
them into the parent layer.
Clearing flashes
By default flash messages are kept until they are replaced by new messages.
An empty [up-flashes] element will not clear existing messages.
Hence it is safe to always include an empty [up-flashes] element in your application layout to indicate
where future flashes should be placed.
Removing messages after a delay
Typically you want to clear flash messages after some time.
This compiler removes child elements of your [up-flashes] container after 5 seconds:
up.compiler('[up-flashes] > *', function(message) {
  setTimeout(() => up.destroy(message), 5000)
})
Important
We're only removing the contents of
[up-flashes], but not the container itself. The empty flashes container must remain in the layout to indicate where future flashes should be placed.
To animate the removal, pass an { animation } option to up.destroy().
Caching considerations
Responses with notification flashes don't cache well. When such a response is re-used, old flash messages will be shown again.
There are several workarounds for this:
- Do not cache responses with flashes.
- Have a compiler suppress flash messages that have been shown before.
- Use a different URL for responses with flashes, such es
/users/3?updated=true. - Transport flash messages in a client-readable cookie instead.
Suppressing cached flashes
You can write a compiler that removes the DOM elements for flashes that have already been shown. This allows you to keep caching responses with flashes, but only show each message once.
To give each flash message a identity that we can track, render them with random attribute, such as [data-nonce]:
<div up-flashes>
  <strong data-nonce="6792525983">User was updated!</strong> <!-- mark: data-nonce="6792525983" -->
</div>
The client can now track which nonces it has already seen. When a cached response it re-used, it recognizes an older nonce and removes the message element:
let seen = new Set()

up.compiler('[up-flashes] > *', function(message, { nonce }) {
  if (seen.has(nonce)) {
    // Remove a flash message that has already been shown
    message.remove()
  } else {
    // Remember that we've seen this flash message
    seen.add(nonce)

    // Only track the last 100 nonces
    if (seen.size > 100) {
      seen.delete(seen.values().next().value)
    }
  }
})
Because compilers run before the browser paints, removed flash messages will never be visible to the user.
Building a custom flashes container
If you cannot work with the behavior of [up-flashes], consider building your own custom flashes container.
You can use the implementation of [up-flashes] as a template, which looks like this:
<div
  id="flashes"
  role="alert"
  up-hungry
  up-if-layer="subtree"
  up-keep
  up-on-keep="if (!up.element.isEmpty(event.newFragment)) event.preventDefault()"
>
</div>